
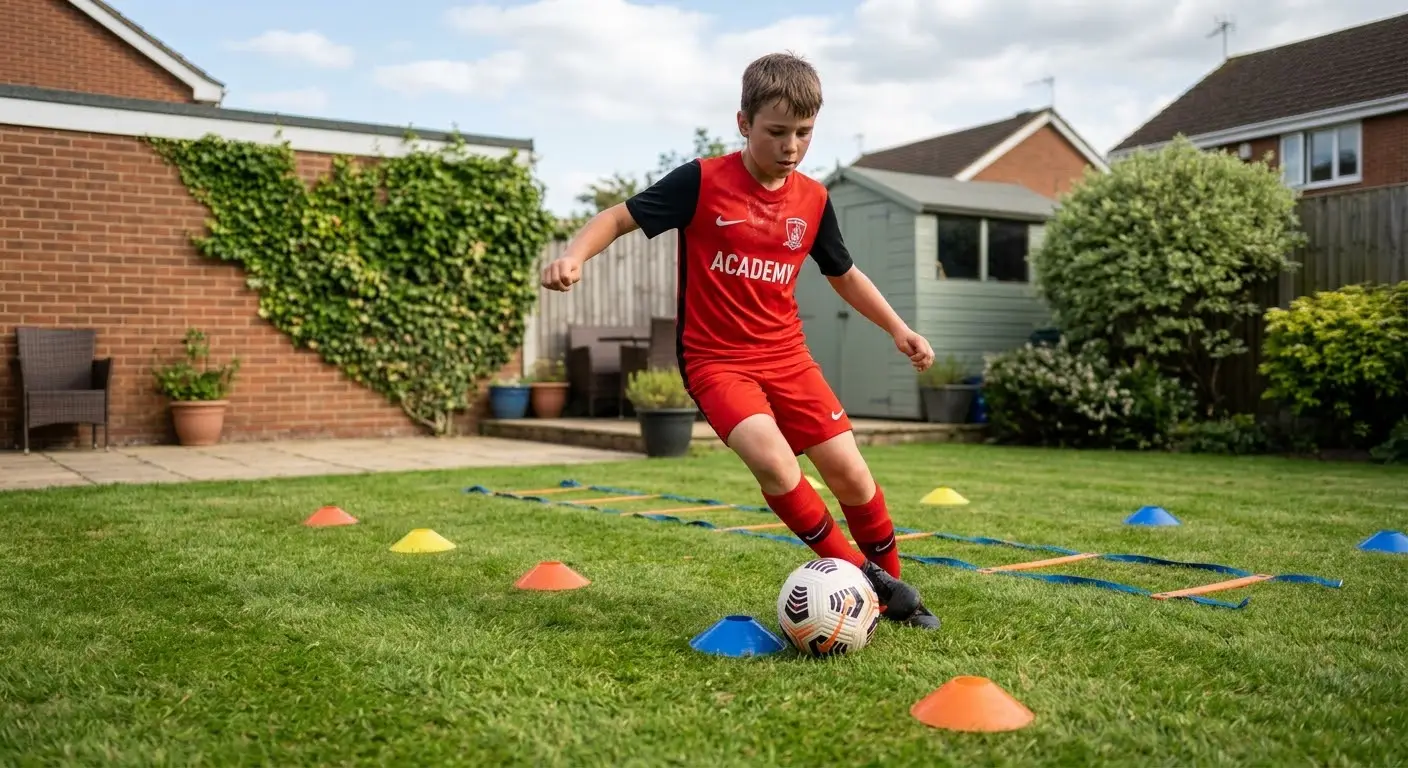
A spare 20 minutes in the backyard, garage or local patch of grass can expose the difference between players who simply stay active and players who keep improving. The right football training equipment at home gives every session a purpose: cleaner first touches, quicker feet, stronger ball control and more confidence when training returns to the pitch.
Home training does not need to recreate a full team session. It needs enough space, a clear objective and gear that helps you repeat football actions at quality. Start with the essentials, then build your setup around the parts of your game that need work.
Football Training Equipment at Home: Start With the Essentials
The best home setup is compact, durable and easy to use without a training partner. A quality football is non-negotiable. Choose the size you use for matches, keep it properly inflated and use it for every touch-based session. Switching between a flat, worn ball at home and a match ball at training makes it harder to judge weight, bounce and strike.
Cones or flat markers are the next priority. They create clear targets for dribbling, turns, passing gates and movement patterns without taking up much room. Flat markers suit hard surfaces and small areas, while cones are easier to see on grass and useful for wider movement drills.
A set of grip socks also earns its place in a serious home routine. Quick changes of direction, repeated accelerations and ball work can expose movement inside the boot. A secure fit helps reduce internal slipping so your focus stays on footwork and balance. For players training in boots on grass or artificial turf, this is a practical performance detail rather than an optional extra.
If your space allows it, add a rebounder or a solid wall. Repetition against a reliable return is one of the most effective ways to train alone. You can work on receiving across your body, passing with both feet, one-touch combinations and scanning before the ball arrives.
Build Around Your Available Space
A backyard is useful, but it is not required. The best equipment depends on where you can train safely and consistently.
Small backyard or garage
In a tight area, prioritise close control. Four to eight markers, one ball and a wall or rebounder are enough for a demanding session. Use short dribbling courses, tight turns, sole rolls, inside-outside touches and quick passing patterns. Keep your head up wherever possible. The goal is not to perform tricks at top speed - it is to control the ball in a space where every poor touch has a consequence.
A garage wall can be effective, provided the surface is clear and the ball will not cause damage. Use a softer ball if noise or nearby windows are an issue. Make each passing drill specific: receive with the back foot, play with the opposite foot, then move around a marker before the next return.
Driveway or hard surface
A flat driveway offers a consistent bounce for technical work, but it changes the footwear and safety equation. Avoid wearing firm-ground boots on concrete. Trainers with good grip are usually the better option, and flat markers are safer than tall cones that can move underfoot.
Hard surfaces suit ball mastery, passing against a wall and short acceleration mechanics. They are less suitable for repeated full-power shooting, sliding movements or high-volume jumping. Look after the ball as well - rough concrete will wear a match-quality outer quickly.
Larger grass area
With more room, add speed and striking work. A set of cones can create acceleration lanes, slalom dribbles, passing gates and finish zones. Portable pop-up goals are useful for accuracy, especially when there is no permanent goal nearby.
More space does not mean every session should become random shooting. Set a target and a limit. For example, dribble through a cone pattern, accelerate for five metres, then finish into one side of a small goal. The drill combines control, a change of pace and a composed strike rather than encouraging 30 rushed shots.
Equipment That Earns Its Place
Players do not need a shed full of gear. Buy equipment when it removes a barrier to consistent, useful training.
A rebounder is worthwhile for a player who often trains alone and wants more passing repetitions than a wall can provide. Its trade-off is cost and storage space. A wall is simpler, but the angle and return can be less predictable.
An agility ladder can help organise footwork sessions, particularly for younger players learning coordination. It should not become the entire session. Ladder patterns improve rhythm and body control, but football speed comes from reacting, accelerating, braking and changing direction with intent. Follow ladder work with short explosive movements to a marker or a ball.
Mini hurdles are useful for landing mechanics, stiffness through the ankles and low-level plyometric work. Use low heights and controlled repetitions. If knees, ankles or Achilles tendons are sore, skip jumping work and choose ball mastery, mobility or light passing instead.
A portable goal provides a clear finishing target and makes solo sessions more engaging. For players with limited space, two cones can do much the same job. The goal matters less than whether you practise striking into defined areas with both feet.
Resistance bands can support warm-ups and strength work for hips, glutes and hamstrings. They are support equipment, not a replacement for football actions. Use them before or after ball work to prepare the body and build resilience across a demanding season.
Make Home Sessions Transfer to Matches
The most common mistake with home training is collecting drills without a clear reason for doing them. Match improvement comes when the session reflects situations you face on the pitch.
A wide player might train a first touch out of the feet, an explosive change of direction and a driven pass or finish. A central midfielder could use a rebounder for receiving on the half-turn, playing with either foot and moving after each pass. A defender may focus on quick feet, backpedalling, opening the body and playing a firm first pass through a gate.
Keep the sessions short enough to maintain quality. Twenty to 40 focused minutes often delivers more than an unfocused hour. Start with a few minutes of mobility and light touches, move into one technical theme, then finish with a competitive challenge such as completing a target number of accurate passes or clean dribbles without losing control.
Use a simple progression. First, make the movement clean. Then increase the pace. Finally, add a decision: a colour call, a numbered cone, a change of foot or a time limit. This is where basic equipment becomes valuable. Markers and a ball can create pressure when the drill has standards.
Protect Your Training Standard
Home sessions are easy to skip because nobody is waiting for you. Set out your equipment before you start and decide the session objective in one sentence. “Fifty two-touch passes on each foot” is clearer than “work on passing”. “Ten sharp turns each side without losing the ball” gives you a standard to meet.
Check the training area first. Remove loose objects, allow space from fences and windows, and avoid wet hard surfaces. Wear footwear that matches the ground. If you train in boots, make sure your socks, shin guards and fit are the same as your usual football setup when practical. Familiar equipment helps make the work feel closer to match conditions.
Gear should support consistency, not create excuses. A ball, markers, secure socks and a reliable return surface can cover a large part of an individual player’s development. Add specialist equipment when you know exactly what it will help you practise.
The strongest home setup is the one you use week after week. Set a target for your next session, lay out the equipment, and make every touch count.